Blind CONTOUR drawing
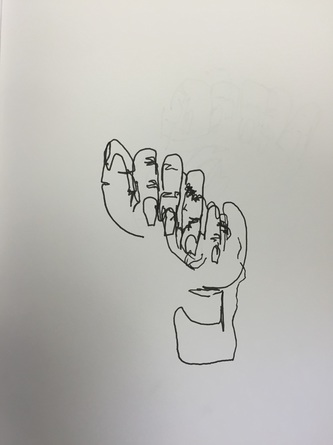
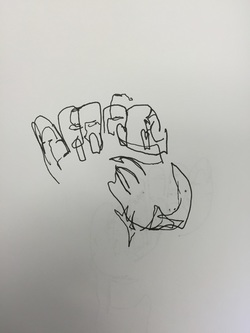
For these practices I had to draw all of the lines I saw in my hand without looking at the paper. I have done these before, and I always want to look at the paper to make sure I'm not "messing up". The final picture is always pretty funny, but it really helps you take the time to look at what you're drawing.
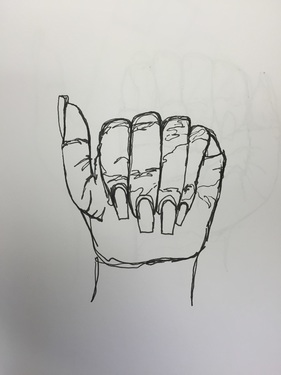
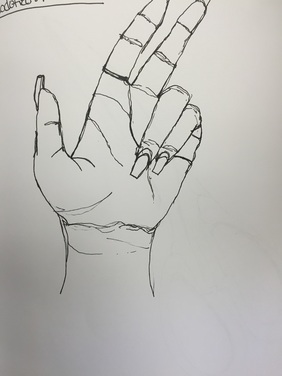
Modified contourThe modified contour is when you can look at the paper while you're drawing, but you still can't pick up your pen. This exercise is more fun, to me, since I can actually look at what I'm doing, and I really like the way it looks in the end.
|
|
|
|
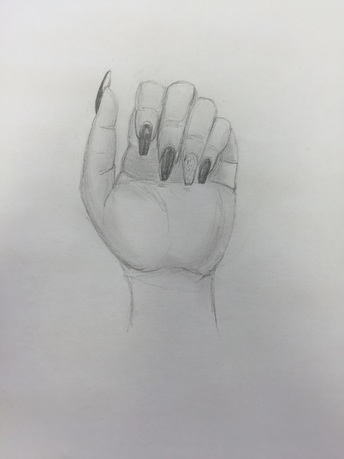
Hand drawing
This is a regular graphite drawing, I just had to draw my hand in a position and try to draw everything I saw.
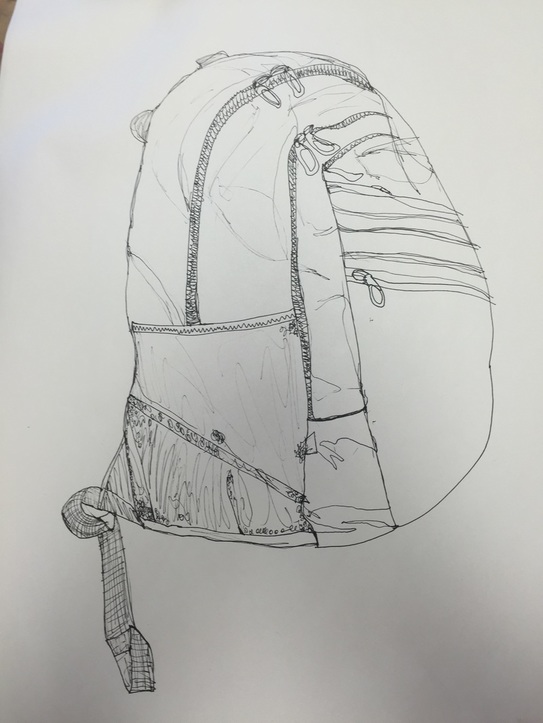
Contour backpack
This was the same as the hand drawings where I couldn't pick up my pen while I was drawing it. By the time we were doing the backpacks I felt a lot more comfortable with the contour drawing.
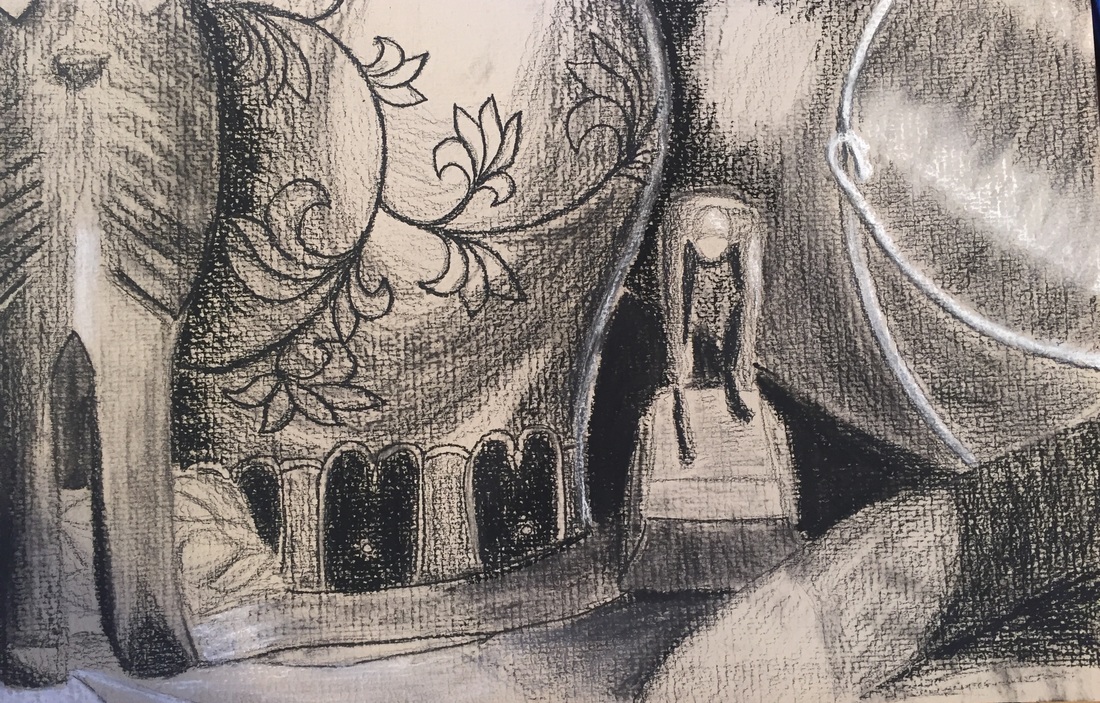
Contour room drawing
Did you use a fluid line? Explain how is this evident?__Explain how your knowledge and creating practice studies with contour line contributed to the success of your piece.__ Describe the difference in your contour line drawing to an outline drawing.__Explain how your interpretation of line is essential in capturing the look of the room. __What did you learn from completing this drawing?__ If you could recreate your piece what would you do differently to enhance the final outcome?
I did use a fluid line, but there are parts where the line is somewhat sketchy. In the clipboard and the stool you can see where the lines flow. Doing the contour line studies helped me understand how to do the contour lines and helped me make my final project more together. The contour line drawings are a free flowing lines, that show throughout the drawing and the different objects in it; an outline drawing is just the outer lines of an object but no lines anywhere else. My perspective in the room was my interpretation of the room, I was able to draw it and show how I see it, if I tried to draw it from a picture, or how someone else was drawing it, it wouldn't be the same. This project helped me look at all of the details more instead of just drawing from my memory. If I did this again I would try to make Mersina better instead of so squished, I also would try to spend more time on the bricks in the walls.
I did use a fluid line, but there are parts where the line is somewhat sketchy. In the clipboard and the stool you can see where the lines flow. Doing the contour line studies helped me understand how to do the contour lines and helped me make my final project more together. The contour line drawings are a free flowing lines, that show throughout the drawing and the different objects in it; an outline drawing is just the outer lines of an object but no lines anywhere else. My perspective in the room was my interpretation of the room, I was able to draw it and show how I see it, if I tried to draw it from a picture, or how someone else was drawing it, it wouldn't be the same. This project helped me look at all of the details more instead of just drawing from my memory. If I did this again I would try to make Mersina better instead of so squished, I also would try to spend more time on the bricks in the walls.

Shaded Shapes

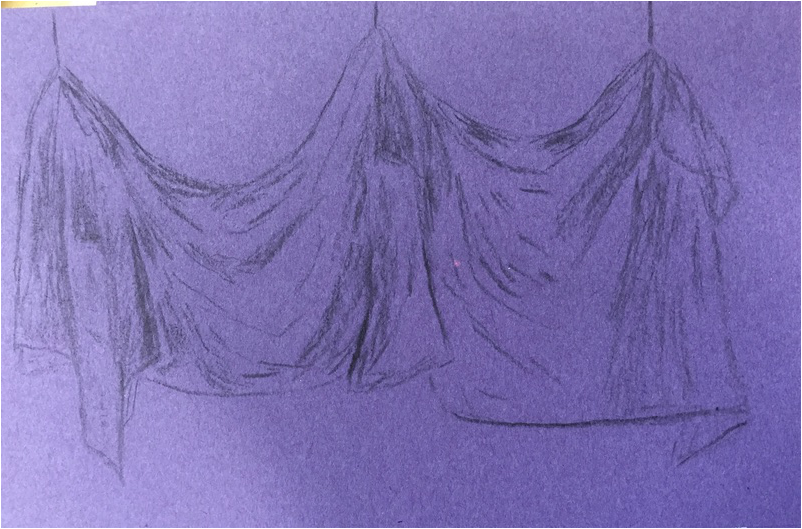
FABRIC studies
For the fabric studies I did one in charcoal and one in white prisma. I really liked the white prisma pencil since it was different than what I had done before. With the white pencil I worked more with the highlights, and leave the colors of the paper for the shadows.

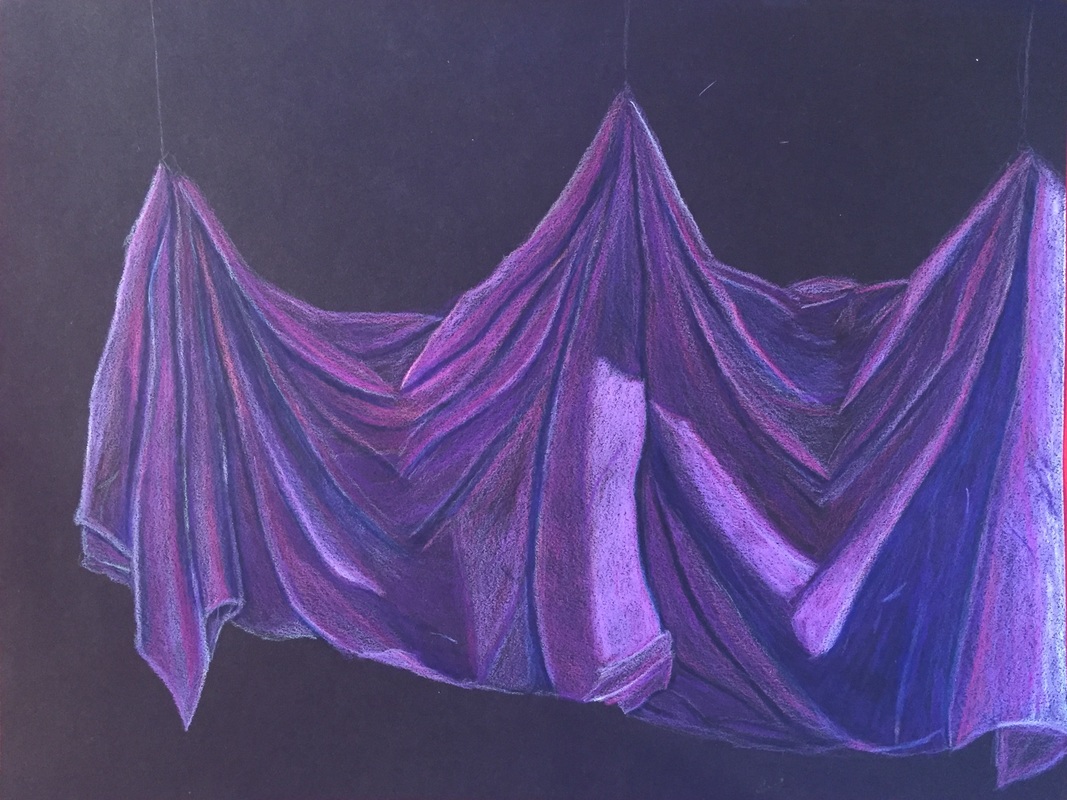
Fabric final
For my fabric final I worked in colored prisma pencils, and it turned out being one of my best colored pencil drawings that I've done. I stayed mostly with purples and some indigo. I did a really good job of pushing my dark values in the shades of the curtains and really strongly highlighting the tops of the folds. Over the summer I took a drawing class at SCAD and was able to do some drawing still lives, so doing the studies was no problem for me. The studies were more helpful to me in helping me decide what medium I should use. I used every different purple and faded them into each other getting a more gradual transition in color. My interpretation of the fabric was more smooth, this is important in showing my artistic style, if you look at my paintings they are all more smooth, nothing has a rough texture. I would add a background to make the whole piece more coherent.
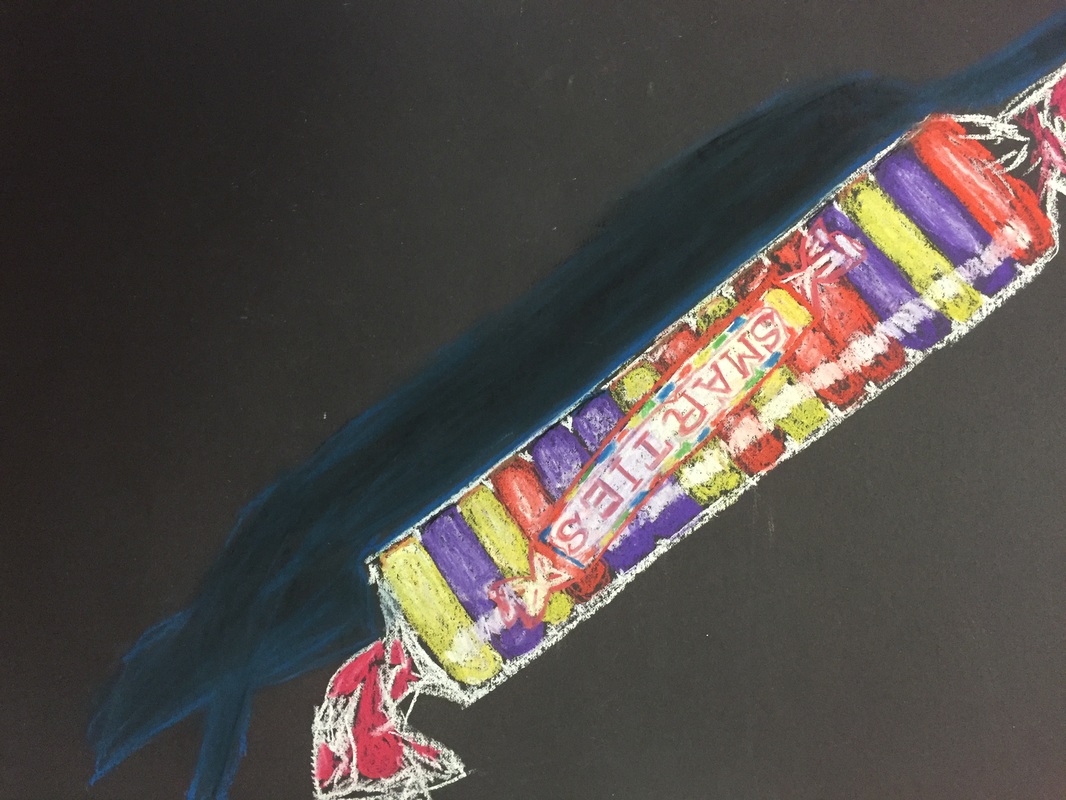
Candy drawing
For the candy drawing I used chalk pastel, this was different for me, I like the color payoff, but not the mess. I was able to get a strong highlight and I would defiantly use them again.
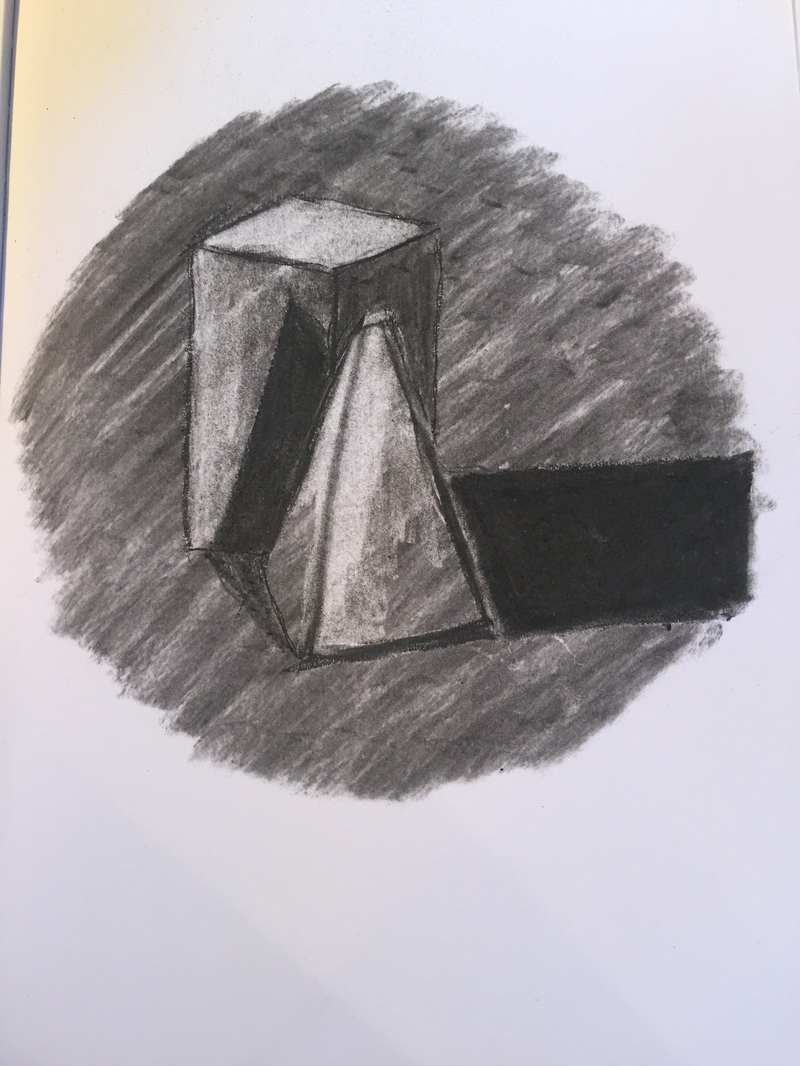
Still Life
For the still life I decided to go with charcoal, I love how dark it gets, and how clean I am able to get the edges, I also like that I can work relatively fast with it. The drawing it self looks like a black and white photo, I really pushed my shadows , taking full advantage of how dark the charcoal can get. I wish I could have gotten stronger highlights, but I think I did a good job with keeping them. The light in the drawing is done exactly like the lighting from the still life, and while the highlights aren't extremely bright they are still there. The proportions of everything in the piece are accurate and it has a strong composition. There are different focal points throughout the picture and it draws your attention everywhere in the picture, there is an interesting pattern on the vase, and then the rest of the picture is full of different objects. I was one of the first to finish the still life, I used vine and compressed charcoal, I had already done so many still lives at SCAD I didn't run into many problems.
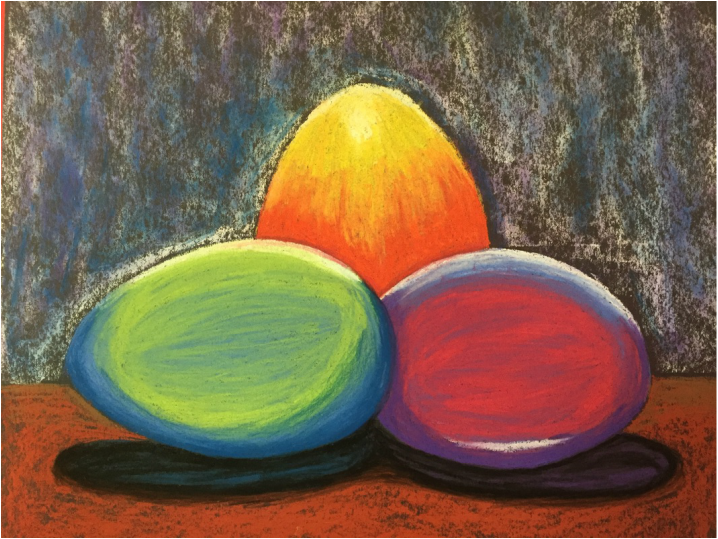
egg drawing
I drew the eggs in chalk pastel, and I didn't run into any problems with it; I've learned the secret is to not blend until the very end, and then when you do blend the colors you don't blend it too much. I would work with chalk pastels again, but I still don't like the mess, or how easily they smudge.
Dum dum drawing
For the dum dum drawing I used my prisma colors, I've noticed that I am getting a lot better with them, I've learned how to blend them, and how to give more depth. At the beginning of the year I had such a hard time using them, and my projects would always turn out waxy. I am extremely happy with my progress, and plan to do the final in prisma.

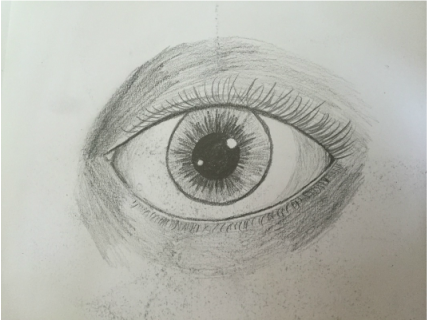
Eye drawing

|
For the eye drawings we watched Mrs. Rossi do a quick demo, and then watched a video on it. Once we finished watching the different demonstrations we started practicing drawing a standard set of eyes, then we moved into drawing our own eyes. To draw my eyes I looked at a picture I had taken, and started drawing.
|
Nose drawing

|
Same thing for the nose drawing too, we watched a few different demonstrations and then had to draw our own noses; noses are hard too because it's all value, but I've improved a lot with noses of the course of this year.
|
mouth drawing

|
The mouth drawing was also like the other facial features, and then we had to draw our own mouths.
|
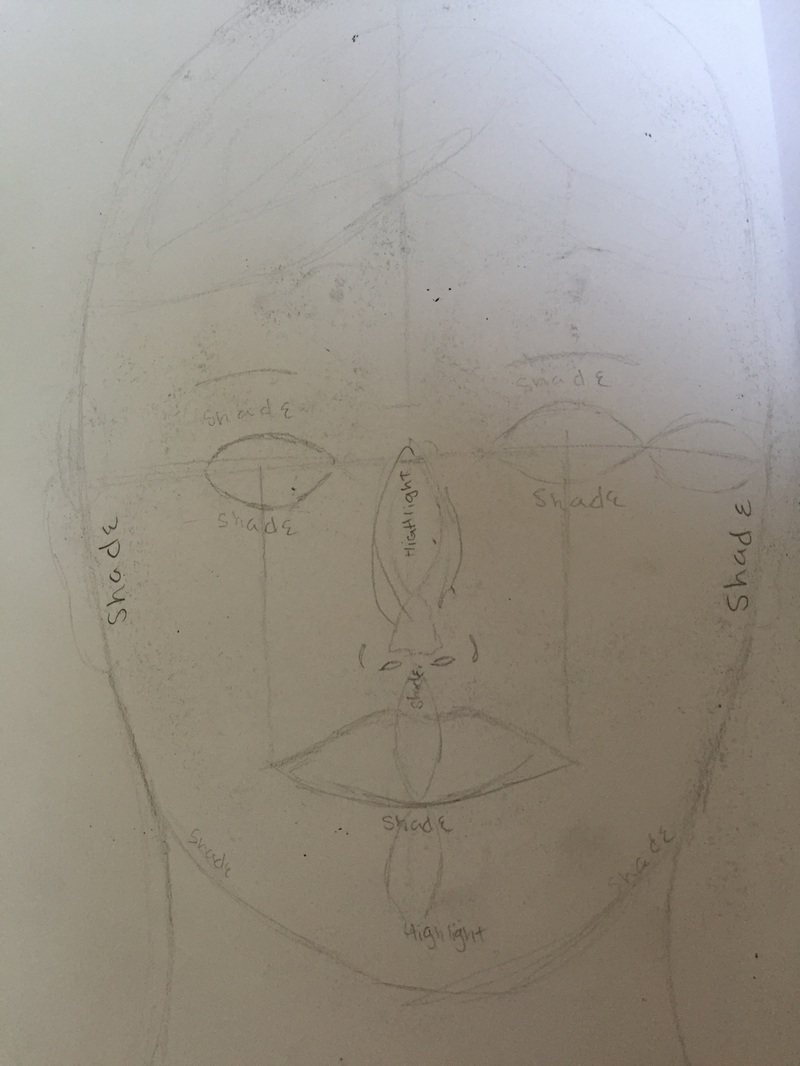
Face proportions
For this drawing we had to map out the face, we started off by drawing a standard head shape. We learned the correct proportions of the face, the eyes are in the middle of a head and are an eye width apart, the bottom of the nose is an eye and a half from the corner of the eye, the bottom of the lip is an eye width from the bottom of the nose, and so on. This is extremely helpful in drawing a face, while that is just a standard map of the face it makes drawing a face accurately so much easier.
final face drawing
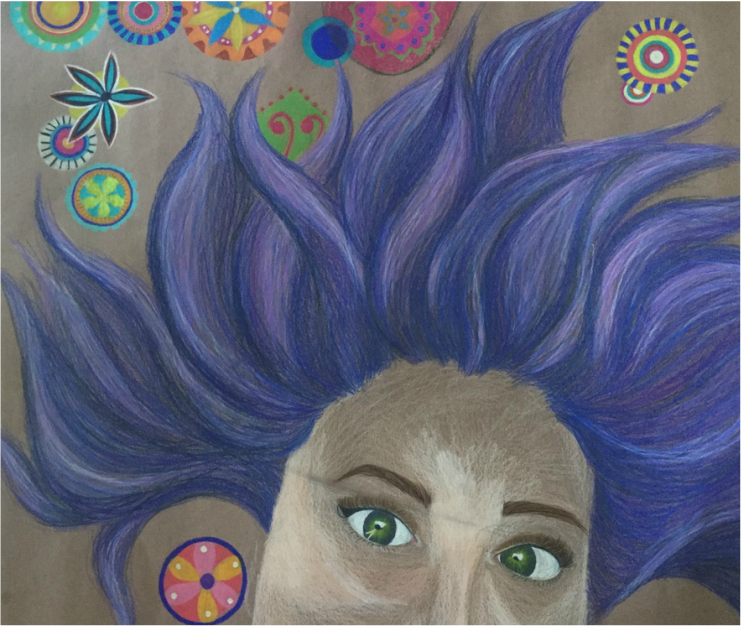
I decided to do my final picture quite large, and in Prismas. I had first started out thinking that I would do the top of my face in color, and then the bottom part in black and white. I started to draw my face in color, and decided to stay with the half of my face, and only do color. Getting the proportions right wasn't so bad, after all of the little mini lessons we did. I was able to draw the eyes and the eyebrows quite well, and the picture actually looks like me! I knew I still wanted to do something cool with the rest of the space I had left, and after talking to the class I decided I wanted to draw my hair all around my head, and then add in a bunch of colorful shapes and designs. The top of the drawing is my favorite part, my hair looks like it's flowing behind me, and it looks dimensional because of all of the different colors I used. For the shapes I looked up some designs online, and used them as my inspiration for the colorful background. I think doing this really shows my personality in the drawing, besides being my style, and my face, it can be thought of as all of the different colors and shapes of my personality. Going into this project I was worried it wouldn't turn out well, since I had already done one in the beginning of the year, and it was not good at all, but I have come a long way since the beginning of the year, and learning the proportions of the face was extremely helpful in completing this project. I'm so glad I stuck with it, and got it finished.
scratch board drawing
For the scratch board project I drew a bird's nest that I found in my backyard. We get birds every year, and it's really special to be able to watch them grow. I chose this picture because it had lots of texture, I had to add a lot of texture in the nest, without losing the value. For the most of my scratch board I used a exacto-knife, so I could achieve thin lines, to make sure I didn't go overboard with scratching it off. To make sure I carried symmetry throughout the picture I added a bunch of thick limbs in the background, this still gave it the feeling of being inside of a bush, but without all of the mess of random leaves. The movement of this picture is more in the meaning of it to me personally, the eggs are representing the beginning of life, and knowing that the eggs are only the beginning of the movement through life.

